
After deciding to host an open house, you must get the potential clients to your listing. Advertising is critical. Signage is a must. Placing signs and the type of signs have a major impact on the success/failure of your open house.
Here are some things to consider:
1. Signs - Type. Get your potential clients to your listing is essential. Directional signs placed at specific locations can guide them right to your doorstep. Which signs provide the best bang for your buck? The price varies as much as the types of signs. But which one? Buying new open house signs is an investment and a representation of you, your team, and your company. Keep in mind you have to purchase the panels (inserts, hangers, rings) that must be produce and the frame also must be purchased. No cheap affair. Living in Las Vegas, NV (where our company resides) you also have to consider
many factors; wind, terrain, traffic, etc. If you can afford the investment, go big.


A. Swinging A-Frame: This is the wire type frame where the panel will swing from the cross-section suspended by rings, z-ties, spring clips, wire, etc. Will discuss which is better a little later. These frames are very lightweight for transport but also suspectible to the elements (wind, traffic flow).
B. Metal A-Frame: These A-Frames have metal legs, metal base, and are welded with hinges to fold out. The panels are inserted in slots. These frames are very bulky but very sturdy. You will need two one-sided panels for each side. Make sure the arrows are both pointing the same direction.
C. Plastic A-Frame: Similar to metal but all made from plastic. This reduces the weight but also the sturdiness. Panels again must be inserted (two one-sided panels).
D. Barricade Style A-Frame: These oversize A-frames have been utilized by a number of businesses (restaurants, salons, etc.) but also can be very effective for open houses. These are large in size and bulk (usually filled with sand or water). Transportation can be difficult.
E. Bandit: These are the H-style wires stuck in the panel itself. You see these pop up all over town right before elections. These are very cheap and can be placed almost everywhere. Keep in mind you have to stick it in the ground. Very difficult in rock and hard compacted soil such as the desert.
2. Signs - Information. The information you convey is very important. It is a visual representation of you and your company. Use the K.I.S.S. method. Keep it Simple Stupid. Too many times real estate agents try to get too much information on a small sign. First of all, you need a directional arrow. Either the sign itself or an arrow on the panel is a must. You need to point the client in the right direction. Also check to make sure when you add the panels (on single sided panels) both arrows are pointing the correct direction. Too many times have I seen arrows pointing in opposite directions on the same sign.
Realtor® and Equal Housing Logos are also a must.
Brand logo is required by most brokers on all advertising, which is what an open house sign is so make sure the company logo is on it. A phone number is a must. If the client can't find the location at least they can get in touch with you to find out where you are. Any more than that just becomes clutter.
3. Placement. Sign placement is as critical as the information on the sign. The most important role of the sign is getting your client to the property. One method is to start at the property and work your way out. Place a sign pointing to the property. Many times real estate agents will try to save a sign by NOT putting one at the property and relying on the For Sale sign in the yard. It is amazing how reliant the client becomes looking for the specific open house sign. The have followed a number of signs to get to the property only not to find it (when it is right in front of them).
Busy Intersections. Many agents place signs at the intersections but don't want to fight the traffic. Try to place three if there are medians that can withhold signs. Two facing each other drawing traffic to the street leading to the property. The third in the right turn lane leading to same street. This gives you ample coverage for right and left turn potential clients who are already headed in that direction.
Sidewalks. Try to avoid placing signs on private property and place on the sidewalk. If using the swinging A-frame try to place one of the base wires in the seam of the sidewalk. Use duct tape (yes, I said duct tape) to secure to the sidewalk.
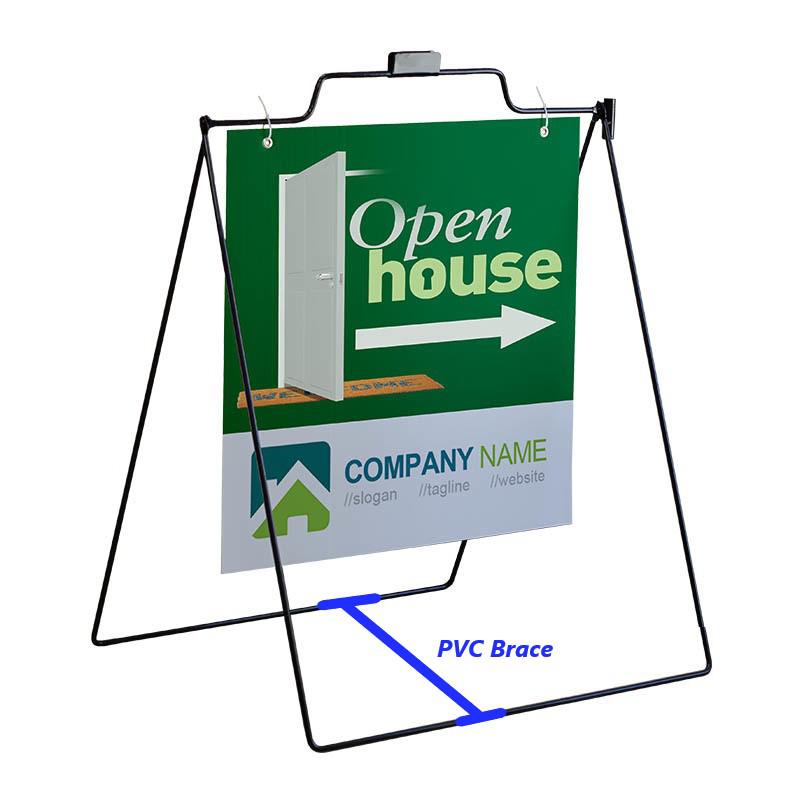
4. Weights. One of the biggest factors in ruining your open house is mother nature, specifically the wind. Gusts can blow down even the sturdiest signs. From Ziploc bags filled with gravel to bricks/cement blocks to socks sewed up with beans, weighting down your signs becomes necessary. Rocks are tried and true but braces on swinging A-frames look more professional and prevent the sign from folding in on itself.
*See forthcoming video on how to construct your own.
5. Gizmos. Getting your signs noticed is one thing, causing a commotion is another. As stated earlier placement of the sign should be enough but some real estate agents have also taken upon themselves to add accessories. From balloons to flags to spinners, anything that catches the potential client's eye have been used.
